
Bulk Provision Users
Step-by-Step
Section titled “Step-by-Step”Bulk Provision Users
Section titled “Bulk Provision Users”-
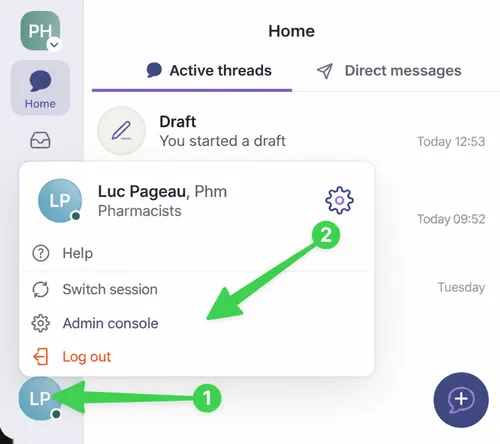
Click your profile avatar, then select Admin console.
-
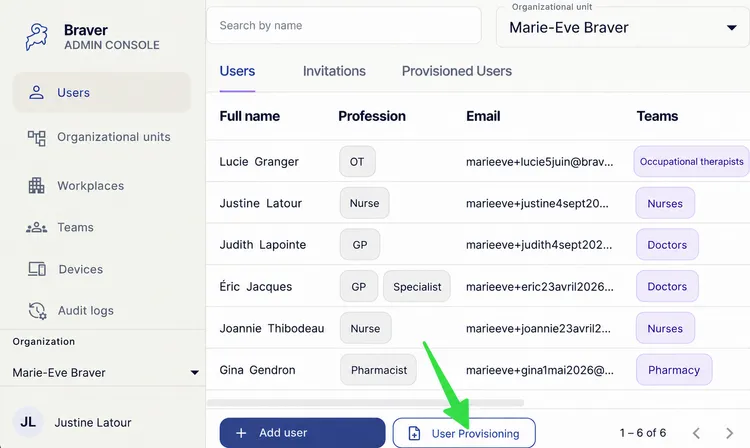
In the admin console, click User Provisioning.
-
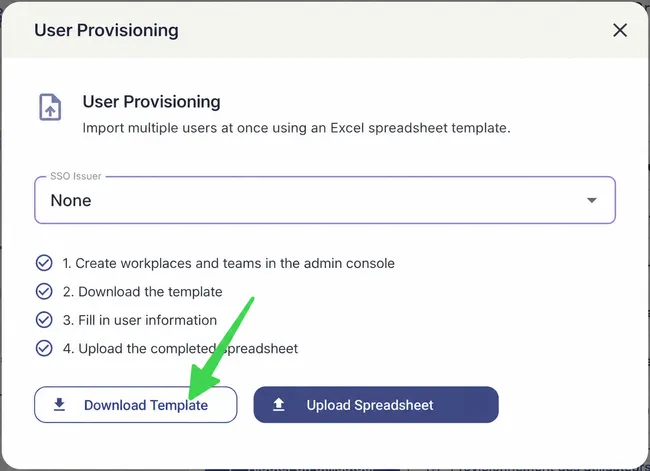
Click Download Template.
-
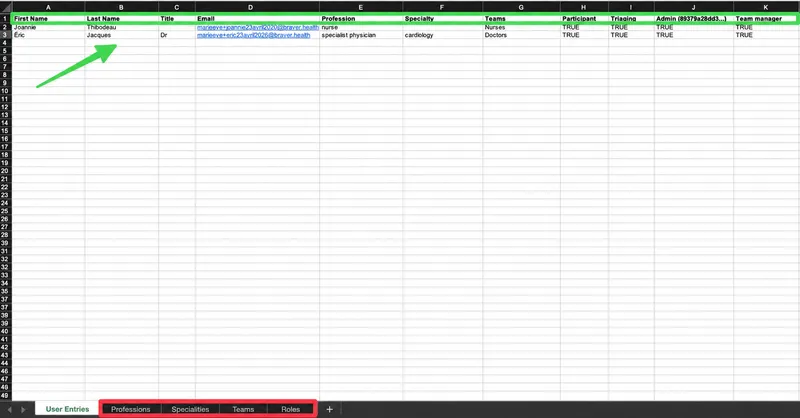
Fill in the rows of the User Entries sheet. Don’t change the other sheets marked by the red box at the bottom of the workbook.
-
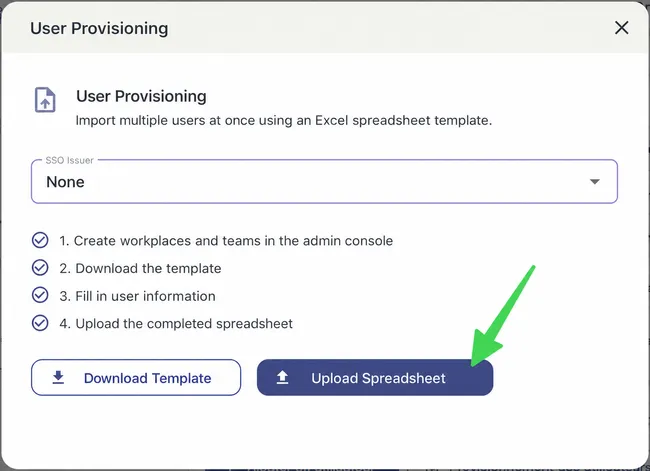
Optionally select the SSO Issuer provided by the Braver team, then click Upload Spreadsheet.
-
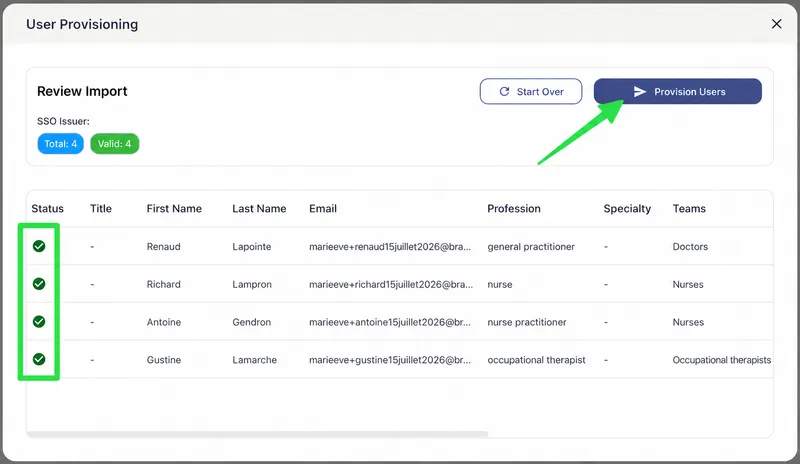
If all status icons are green, click Provision Users.
-
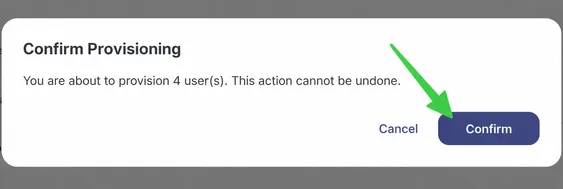
Click Confirm.
-
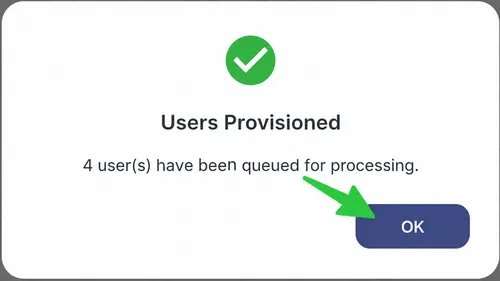
A message confirms that the action succeeded. Click OK.
-
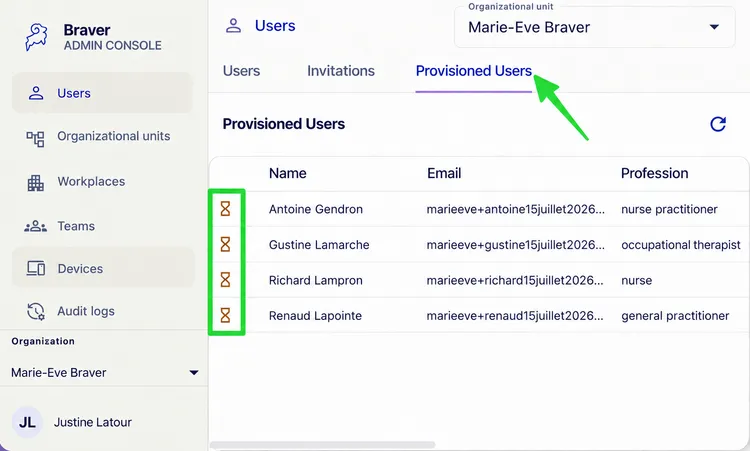
To check account creation status, click Provisioned Users. An hourglass means that the user hasn’t created a Braver account yet. After they create one, they move to the Users tab.
Remove Users from the Imported List
Section titled “Remove Users from the Imported List”-
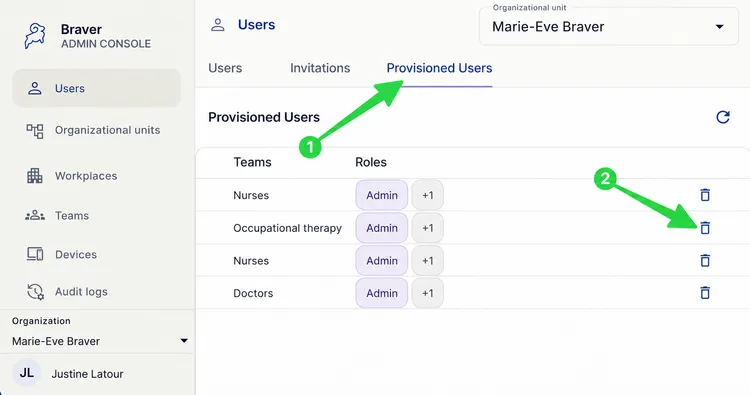
In the admin console, click Provisioned Users, then select the trash can on the same row as the user to remove.
-
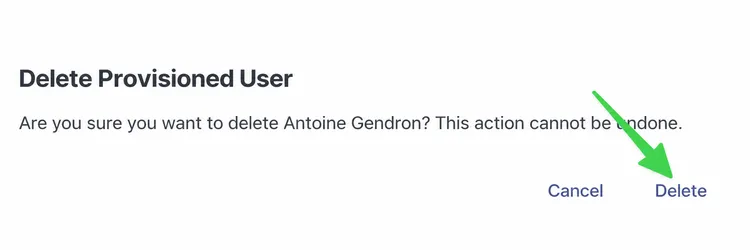
Confirm by clicking Delete.