
Contact a Professional Who Doesn't Have a Braver Account
Step-by-Step
Section titled “Step-by-Step”- Create a Braver Connect Contact
- Share a Thread with a Braver Connect Contact by Email
- Share a Thread with a Braver Connect Contact by Fax
Create a Braver Connect Contact
Section titled “Create a Braver Connect Contact”-
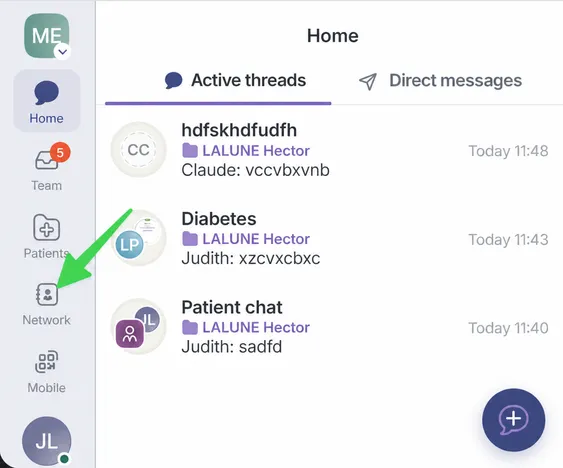
Go to the Network page.
-
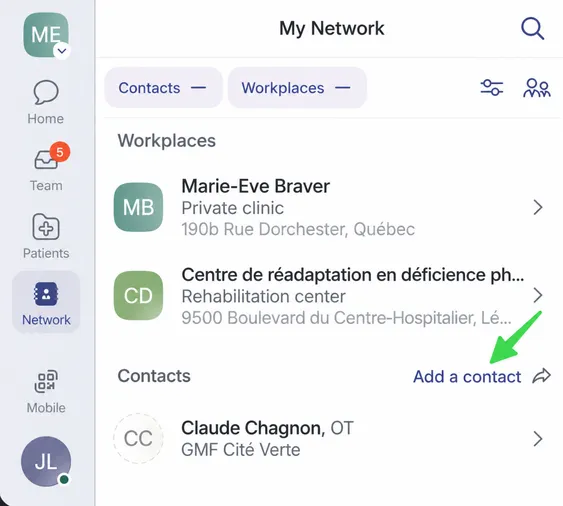
If this is the first time you are working with this person, click Add a contact.
-
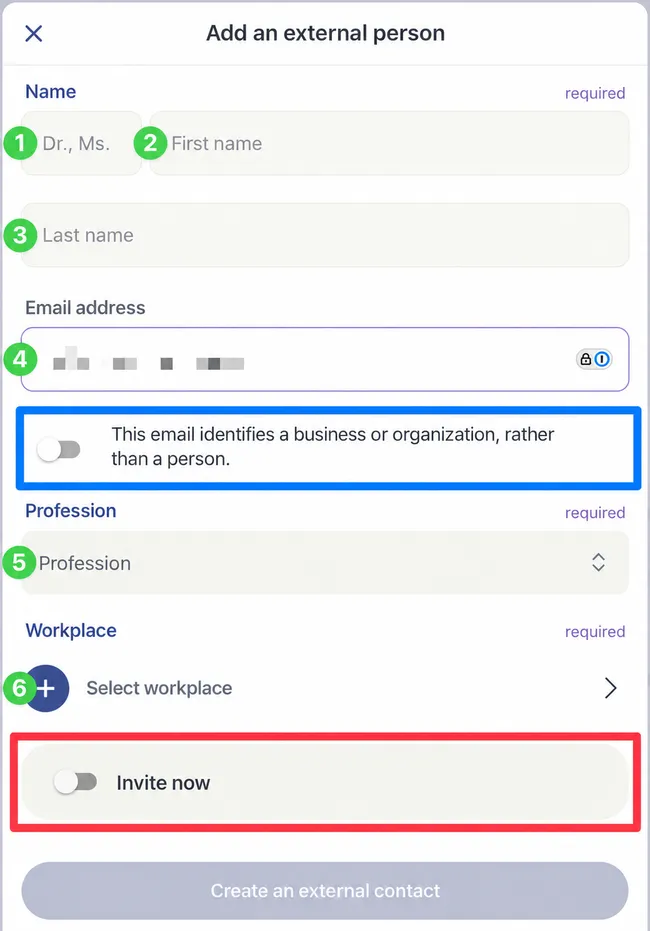
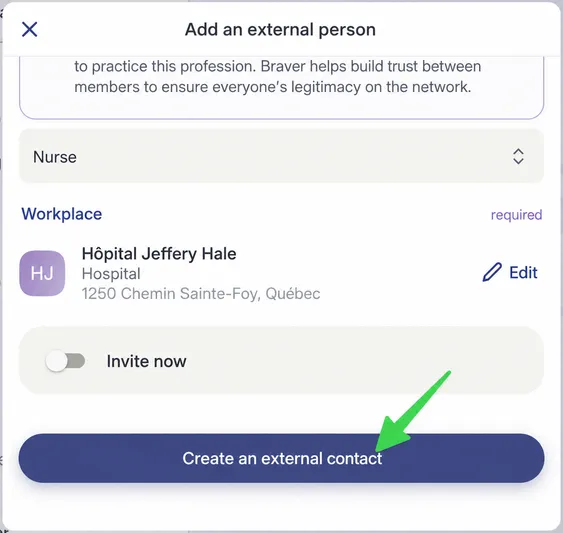
Fill out the Add an external person form:
- Their title
- Their first name
- Their last name
- Their email address
-
Their profession
-
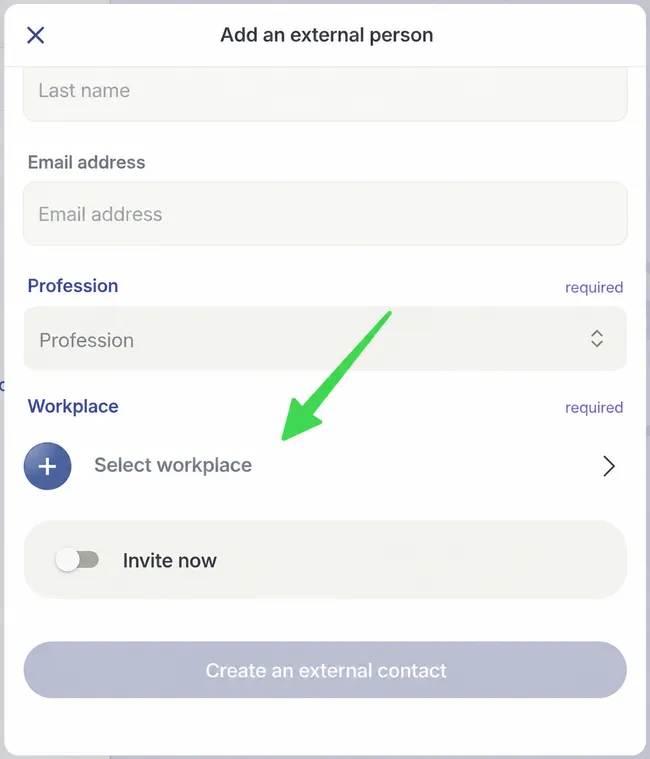
Their workplace (See the step-by-step for this action in the Add a Workplace section.)
-
Click Create an external contact.
-
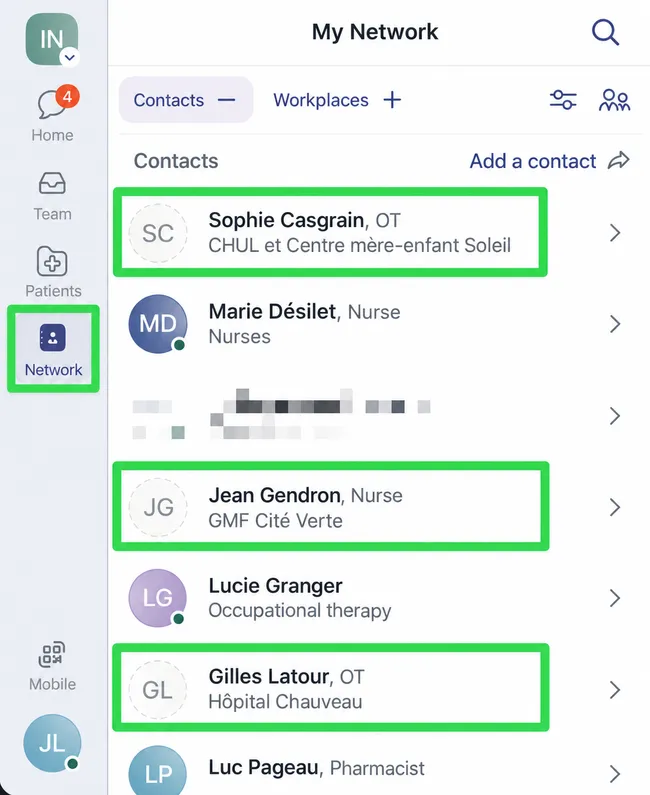
Once your contact is created, it appears on your Network page. Its avatar has a dotted outline because the person doesn’t have a Braver account yet.
Share a Thread with a Braver Connect Contact by Email
Section titled “Share a Thread with a Braver Connect Contact by Email”-
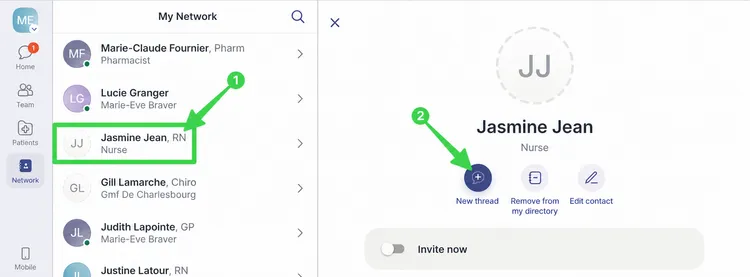
The avatars of your “Braver Connect” contacts appear with a dotted outline on the Network page. 1) Click the contact, then 2) click New thread.
-
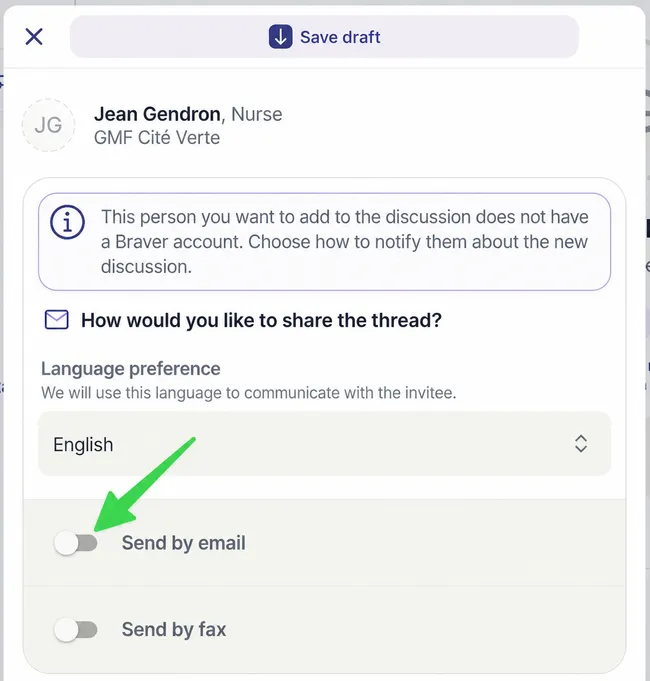
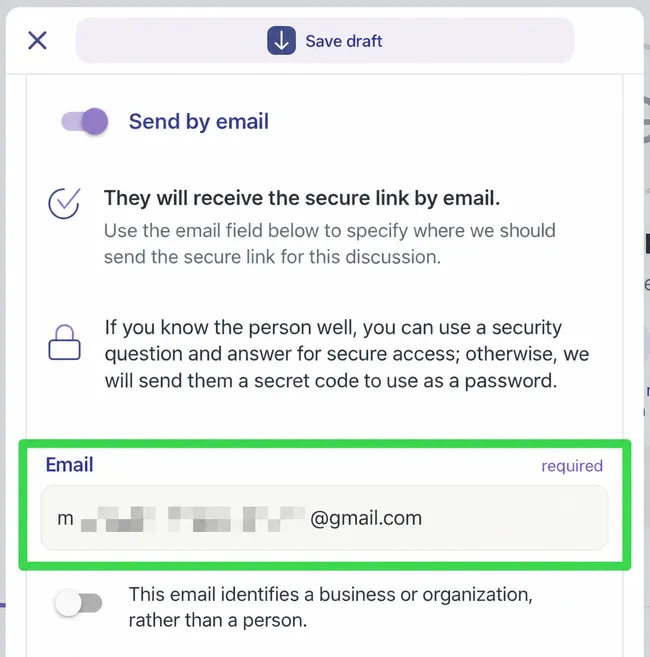
Turn on the Send by email option.
-
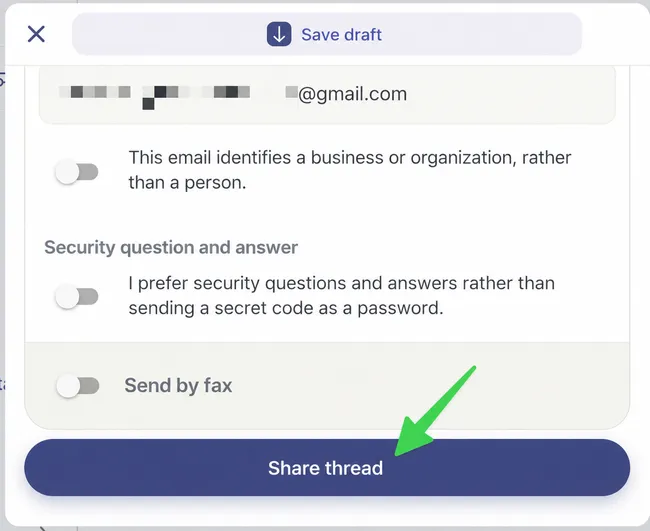
The email you entered when you filled out the Add an external person form is already displayed in the right field.
-
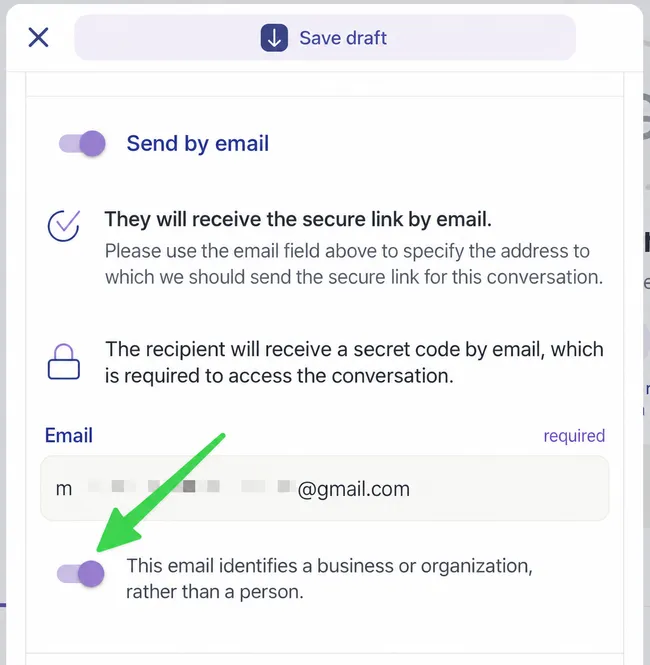
Turn on the switch under the email if it is a general address, in case you don’t know the email of the contact you want to add.
-
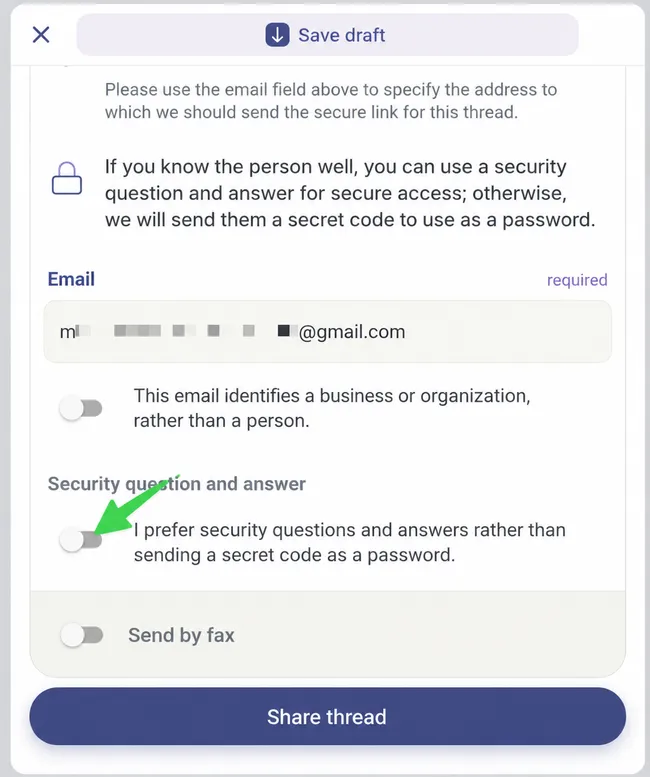
By default, the person who receives a Braver Connect email receives a secret code to use as a password. If you prefer to use a security question and answer, turn on the following option:
-
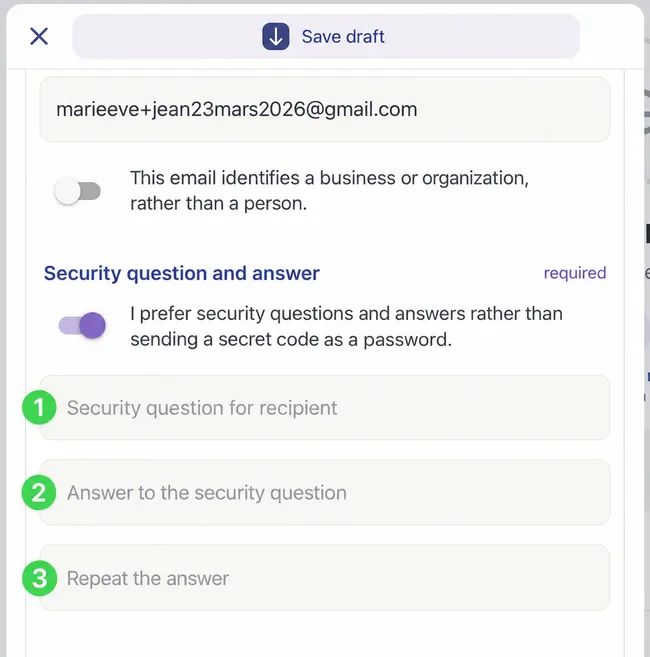
- Write a security question for your recipient.
- Enter the answer to this question.
- Repeat the answer to confirm it.
-
Click Share thread.
-
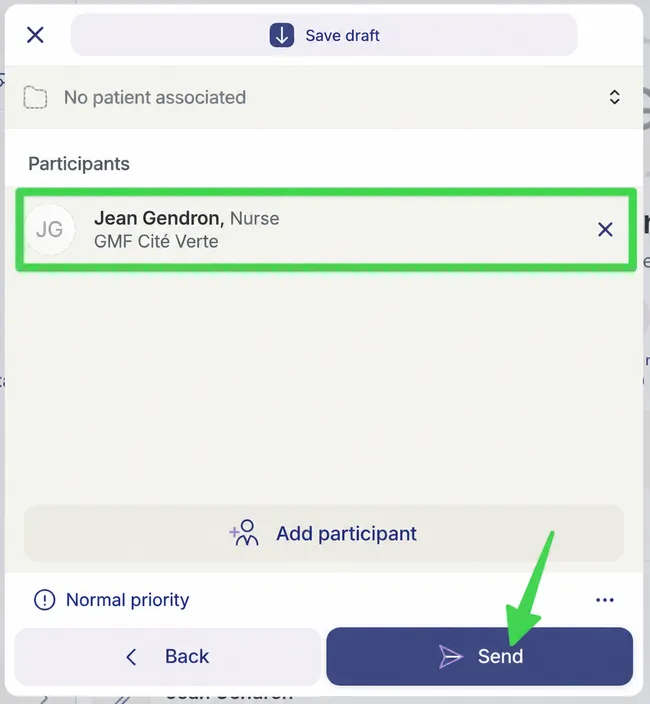
Complete the discussion thread as you usually do. The Braver Connect contact appears among the participants. Add any missing participants as needed. Click Send.
Share a Thread with a Braver Connect Contact by Fax
Section titled “Share a Thread with a Braver Connect Contact by Fax”-
The avatars of your “Braver Connect” contacts appear with a dotted outline on the Network page. 1) Click the contact, then 2) click New thread.
-
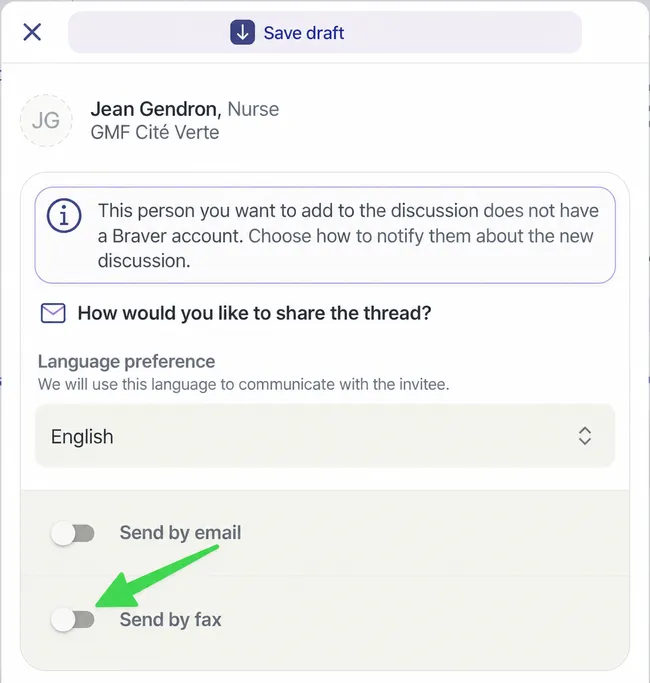
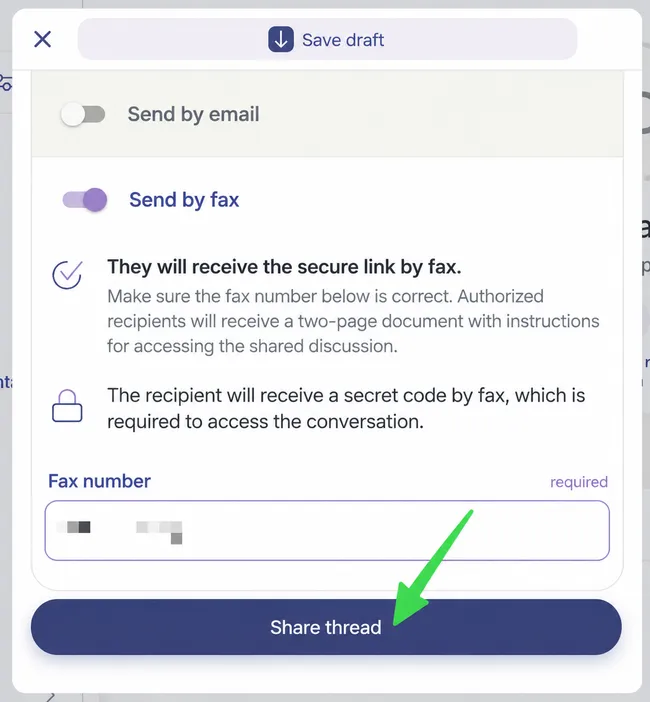
Turn on the Send by fax option.
-
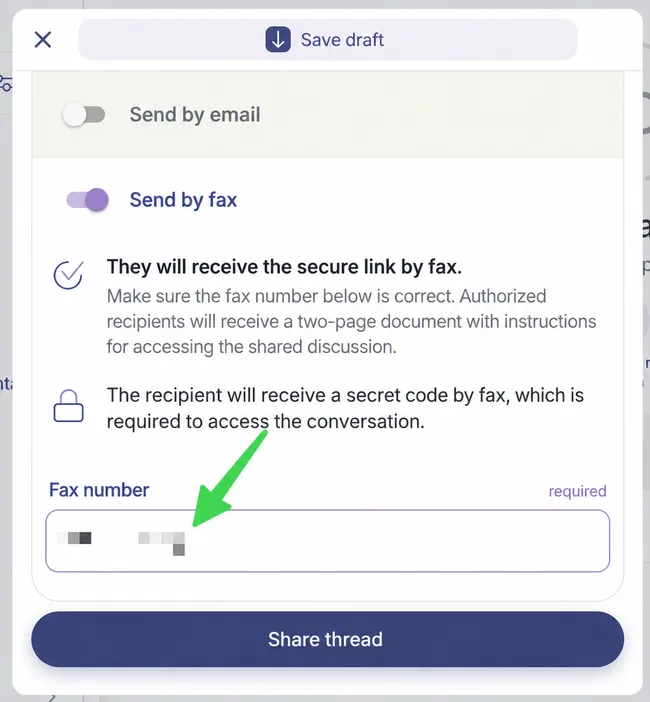
Enter the fax number in the right field.
-
Click Share thread.
-
Complete the discussion thread as you usually do. The Braver Connect contact appears among the participants. Add any missing participants as needed. Click Send.
Add a Workplace
Section titled “Add a Workplace”-
Click Select workplace.
-
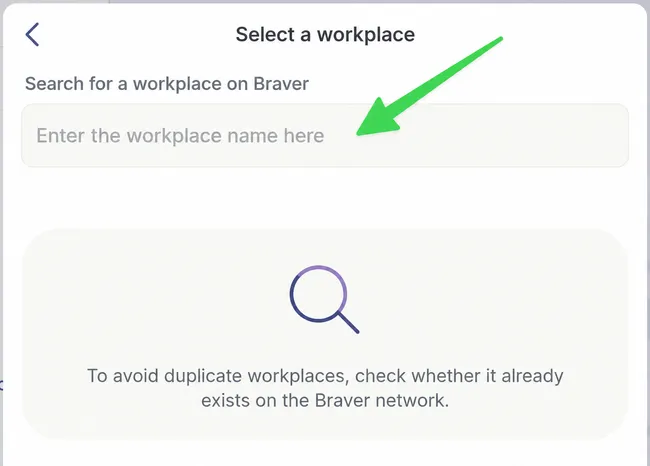
Search to check whether the workplace already exists in the Braver network.
-
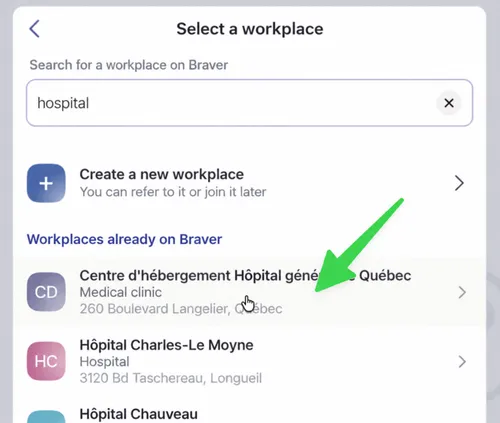
If it exists, select it in the menu. Otherwise, go to step 5.
-
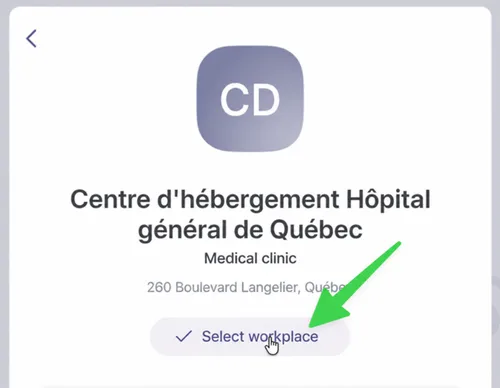
Click Select workplace. The workplace has been added. You don’t need to follow the next steps of this guide.
-
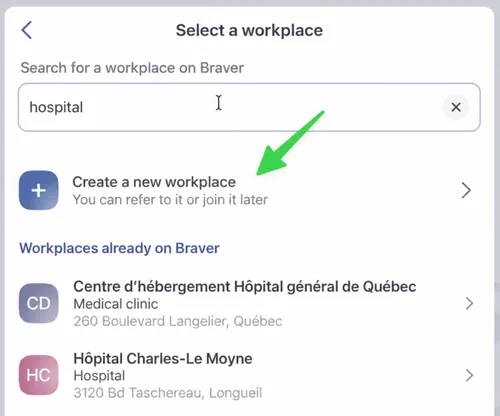
If the workplace hasn’t been created in Braver yet, click Create a new workplace.
-
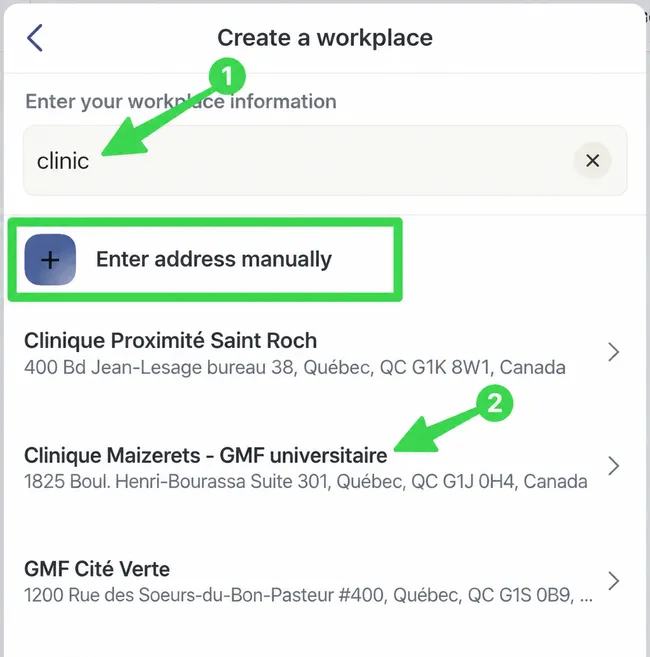
1) Type the workplace you want to create in the search box at the top of the page. One or more Google Maps suggestions appear in the menu under the search bar. 2) Select the right one.
-
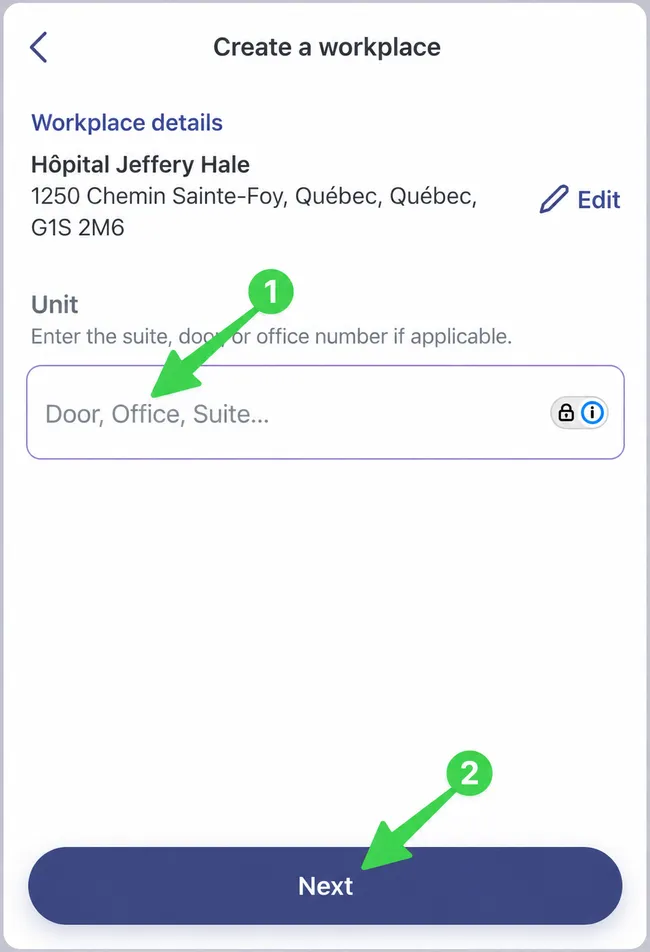
You can 1) add a unit if needed, then 2) click Next.
-
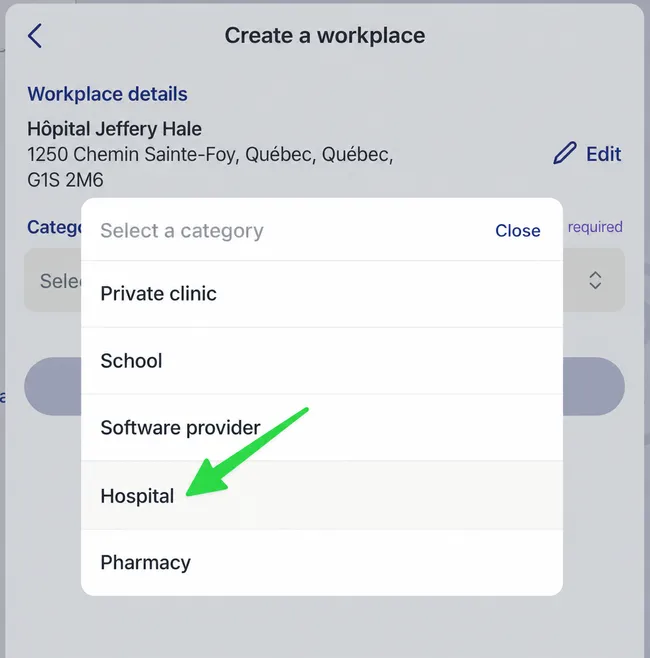
Select a category from the drop-down menu.
-
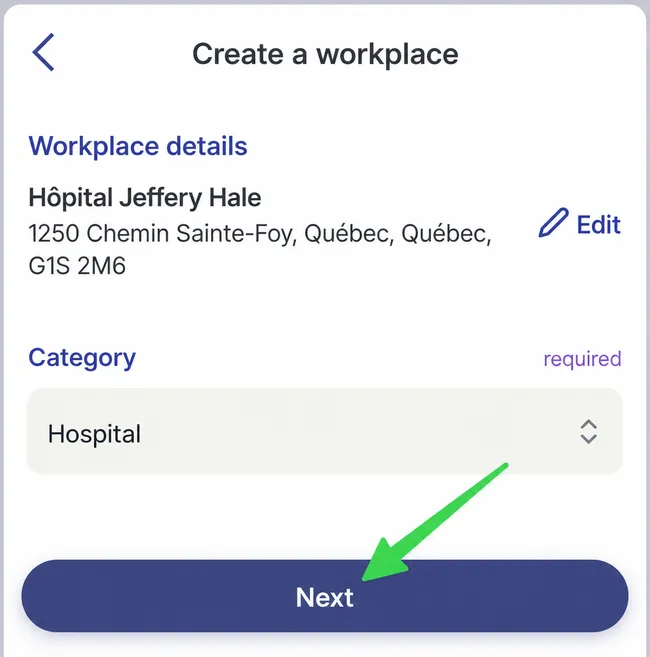
Click Next.
-
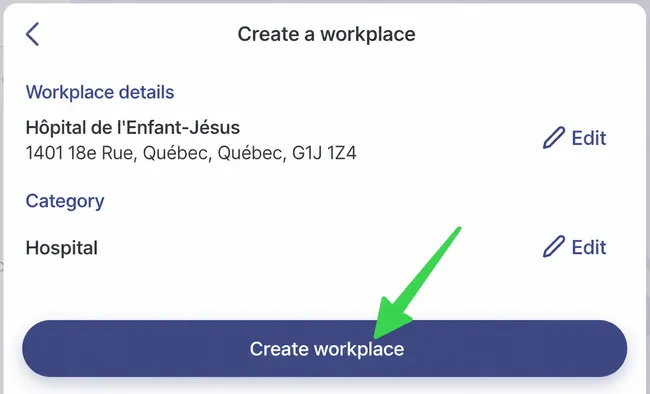
Review the information and click Create the workplace.